There’s nothing quite like the satisfaction of a homemade pie, but getting the crust just right can feel like a big challenge. After many hours in my kitchen, testing different ingredient combinations and techniques, I’ve landed on a foolproof recipe that guarantees a flaky, flavorful crust every time. And, whether you’re a seasoned baker or not, this easy and reliable method takes the guesswork out of pie crust perfection! Say goodbye to soggy bottoms and crumbly mishaps—this is the only pie crust recipe you’ll ever need.
Table of Contents
- What Makes a Pie Crust Flaky?
- Why This Flaky Pie Crust Recipe Works
- Essential Ingredients for A Flaky Pie Crust
- Types of Fat: Butter vs. Shortening in a Pie Crust
- How to Make Flaky Pie Dough
- Key Tips for a Tender, Flaky Pie Crust
- Storing Your Pie Crust
- How to Blind Bake (Pre-Bake) a Pie Crust
- Pie Recipes that Pair Well With Flaky Pie Crust
- Flaky Pie Crust FAQs
- Easy Flaky Pie Crust Recipe
This post contains referral links for products I recommend. As an Amazon Associate, I earn a small commission on qualified purchases, at no cost to you.
What Makes a Pie Crust Flaky?
Before we delve into my recipe and tips, I thought it might be helpful to go over a few facts about the keys to a flaky pie crust. It’s really not complicated – it’s all about the fat (butter, shortening, lard) and the flour, and how they interact during the mixing and baking process.
Flakiness is achieved when cold fat is cut into the flour, creating small, pea-sized pieces. These chunks of fat remain distinct in the dough and during baking, the fat melts, creating pockets that separate the layers of dough, resulting in flakiness.
Why This Flaky Pie Crust Recipe Works
Creating the perfect pie crust that’s both easy to make and reliably flaky comes down to a combination of smart ingredient choices, temperature control, and basic techniques. Here’s why this recipe is foolproof:
- Perfect flour-to-butter ratio. The correct balance of flour to butter creates a flexible dough that holds together beautifully without becoming soggy when baked.
- All-purpose flour. Using medium-gluten all-purpose flour ensures the crust is light and tender while still maintaining structure and flakiness.
- Cold ingredients (fat and water). Keeping the butter cold and using ice water prevents the over-absorption of liquid by the flour, resulting in a crisp, flaky texture.
- Quick and easy method. A food processor streamlines the process, making this recipe both fast and virtually fail-proof.
- Chilling the dough. Refrigerating the dough before rolling, and again after placing it in the pan, helps the fat stay cold, ensuring those flaky layers. It also prevents the dough from shrinking when baked.
- Step-by-step instructions. I provide detailed guidance throughout the process, so you know when to stop processing the ingredients, when/if to add more water, etc.
- Blind baking. Pre-baking the crust (partially or completely, depending on your recipe) before adding the pie filling keeps the crust crisp and prevents the dreaded soggy bottom.
Essential Ingredients for A Flaky Pie Crust
You only need a handful of simple ingredients to create this homemade pie crust recipe (details including quantities are included in the recipe card below):
- All-purpose flour
- Butter
- Shortening
- Table salt
- Ice water
Types of Fat: Butter vs. Shortening in a Pie Crust
The debate over butter, shortening, or even lard in pie crusts is a classic one. Each fat brings its own strengths to the table:
- Butter: Known for its rich flavor, butter crusts are flaky and more flavorful. However, it can be a bit trickier to work with, as the dough is less pliable.
- Shortening: This option results in a softer, more manageable dough that’s easier to roll out. It also produces a supremely flaky crust, though it lacks the robust flavor of butter.
After experimenting with different combinations, I found the perfect balance: half butter and half shortening. This blend delivers the best of both worlds: a crust that’s irresistibly flaky, easy to handle, and packed with buttery flavor.
Quick Tip
Tip on rolling dough: Roll from the center out away from you, then toward you. Turn the dough 1/4 turn after a few passes with the roller. Frequently turning the dough helps it roll more easily and evenly.
How to Make Flaky Pie Dough
Here’s how you create this easy recipe for pie crust dough:
- Combine dry ingredients.
Place the flour and salt in the bowl of a food processor fitted with the steel blade. Cover and pulse 2 or 3 times to mix.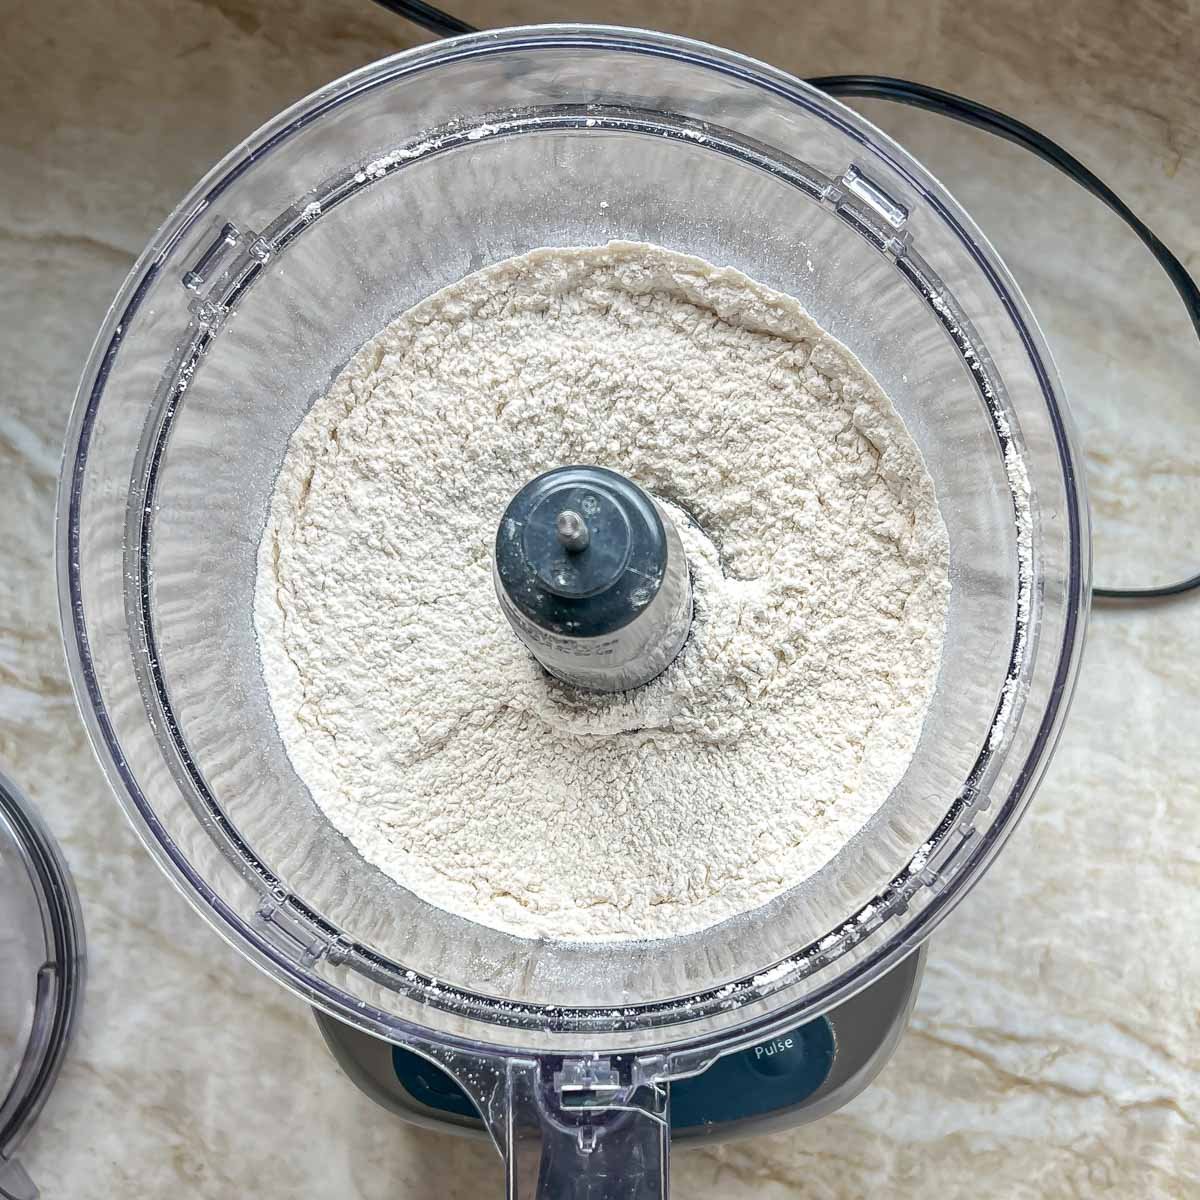
- Add fat; blend.
Add the shortening and butter to the flour mixture and process for 5 to 10 seconds or until the dough is the size of small peas.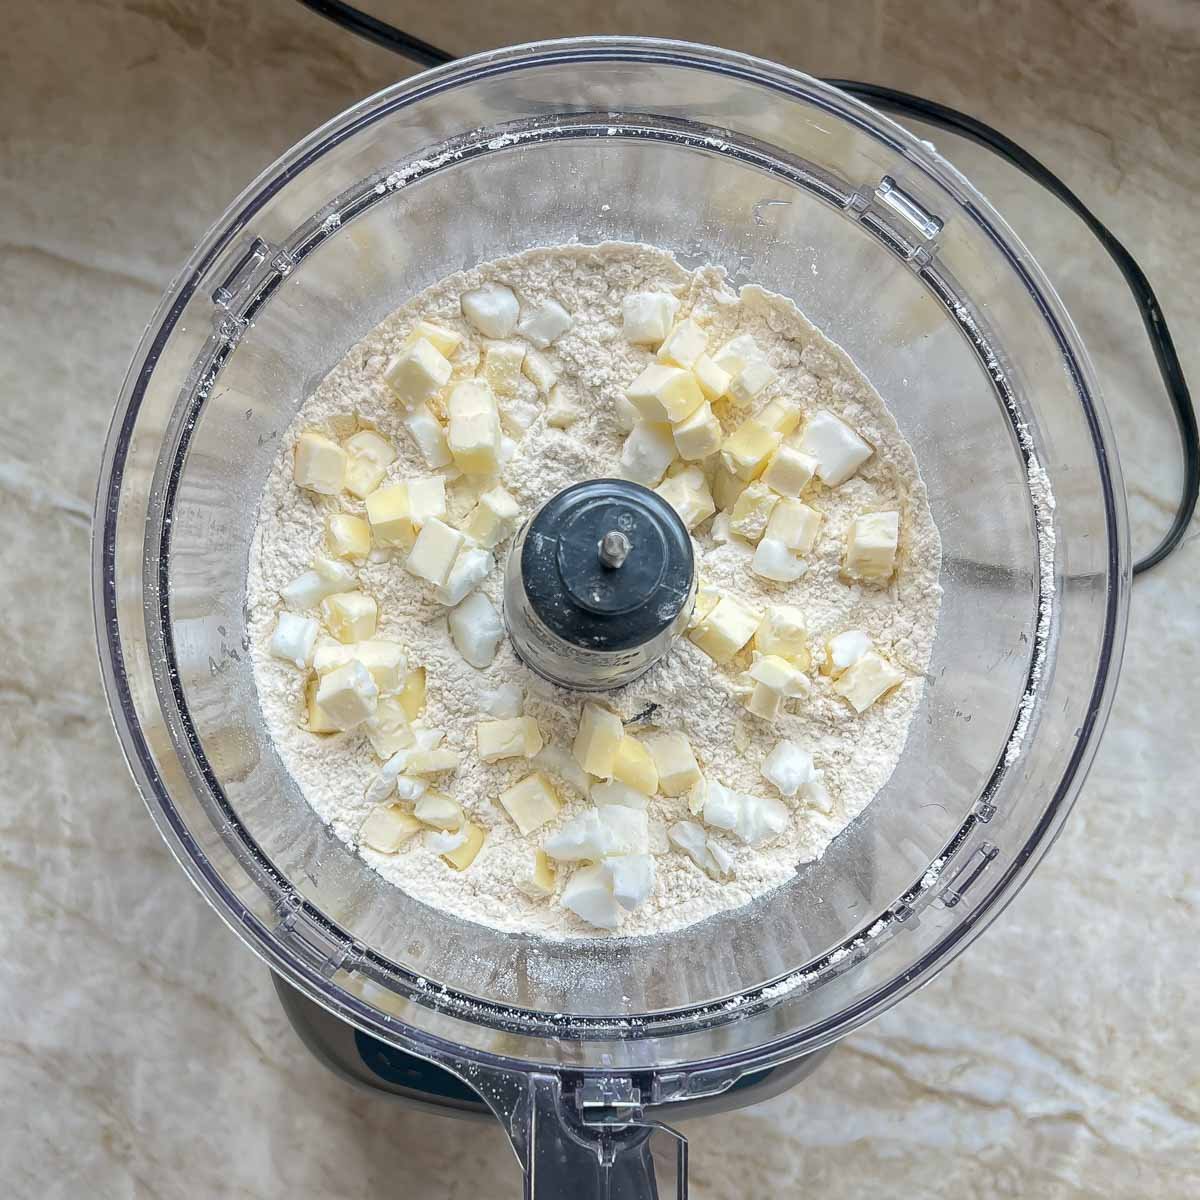
- Add water; blend; test.
Add 3 tablespoons of cold water and pulse 2 to 3 times. Watch the dough carefully and stop the machine as soon as the dough starts to clump together. It will look rough and lumpy and there may be pieces of shortening. If it looks too dry and crumbly, sprinkle in more water and pulse 1 more time. Do not allow the dough to form a ball on the machine blades as it will be overworked and tough.
Pinch the dough together with your fingers; if the dough holds together, it is done.
- Form dough into disc; refrigerate.
Turn dough out onto a piece of plastic wrap. Form the dough into a flat disc around 5 to 6 inches in diameter, wrap with plastic wrap, and refrigerate for at least 30 minutes (up to 2 days). Can also be frozen at this point.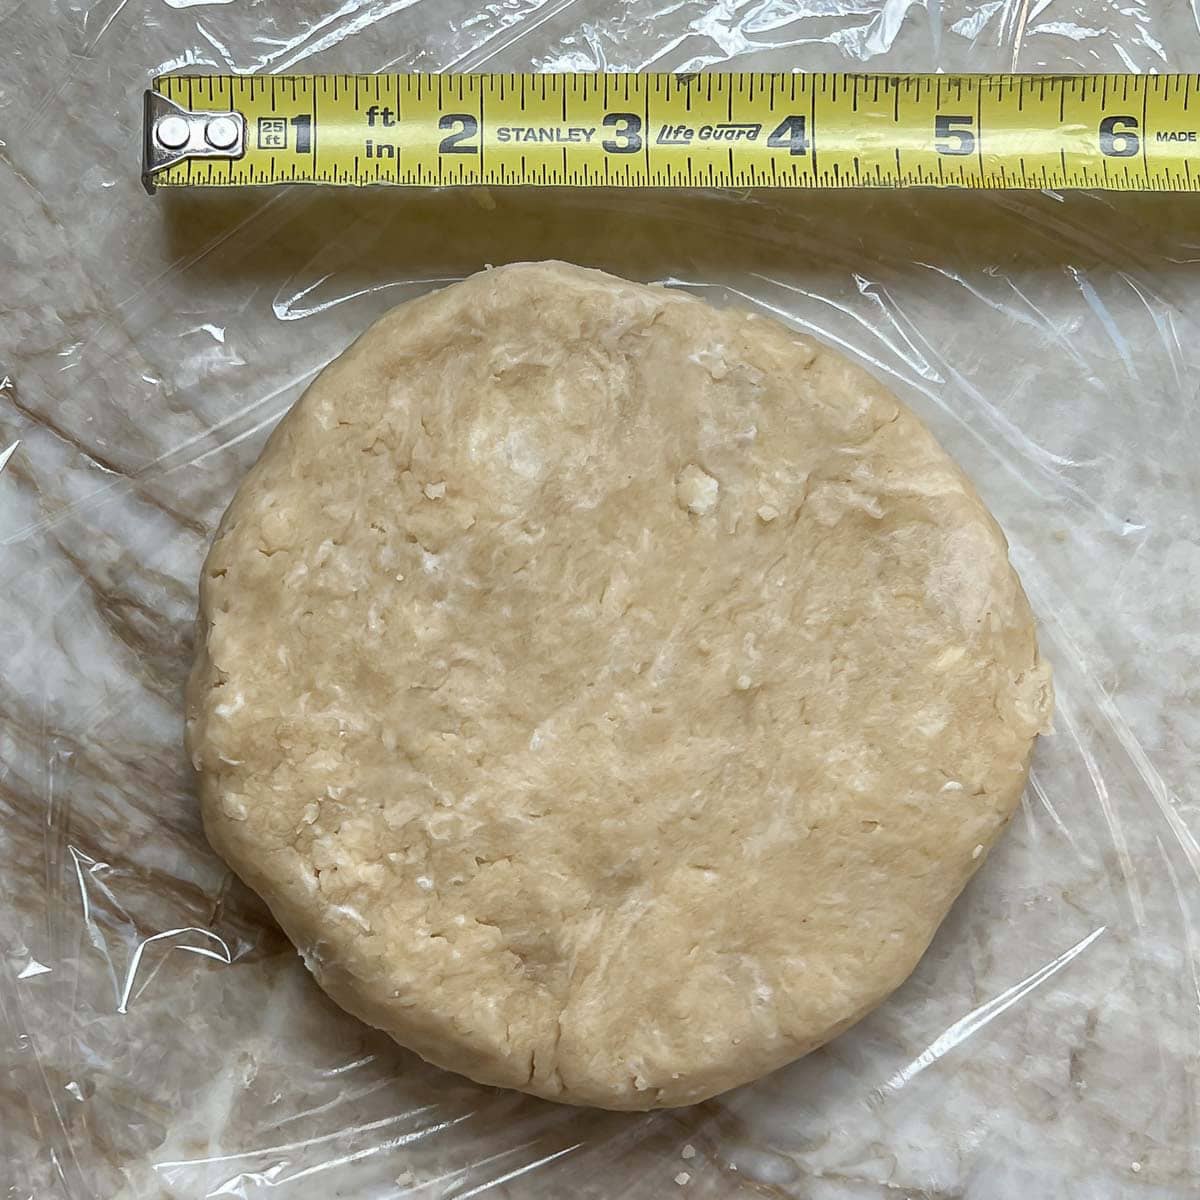
- Prep dough for rolling.
Take dough out of the refrigerator and let it sit at room temperature for around 5 minutes – this makes it easier to roll. - Roll; place in pie plate.
On a lightly floured work surface, roll dough to an even 1/8-inch thickness and into a 12-inch circle. (See Tip above.) Transfer into an 8 or 9-inch pie plate. Poke the bottom of the crust all over with a small fork.
- Finish edges; refrigerate.
Fold over edges and crimp. Refrigerate the pie shell for at least 30 minutes before baking.

Key Tips for a Tender, Flaky Pie Crust
- Use a mixture of butter and shortening, if you want both flaky and flavorful. Shortening creates the former, butter the latter. If you only want to use one, go for shortening to keep the flakiness.
- Add the right amount of water. Too much, your crust will be soggy. Too little and it won’t hold together well.
- Don’t overwork the dough; it will become tough.
- Refrigerate the dough before rolling. This helps the fat stay cold, ensuring those flaky layers.
- Let the dough sit at room temperature for around 5 minutes before rolling. If it’s too cold, it’s harder to roll.
- Once rolled and placed in a pie dish, refrigerate the crust again for at least 30 minutes before baking. This will keep it from shrinking and pulling away from the sides of the pan.
- If you are making a pie ahead, before adding filling and baking, brush inside of crust with an egg wash (beaten egg combined with 1 tablespoon water). This will prevent your pie crust from becoming soggy. For savory pies, you can also brush it with Dijon mustard. If pre-baking your crust, brush after pre-baking but before filling.
- Bake on a cookie sheet. Baking your pie directly on a metal pan allows the heat from the metal to cook the pie from the bottom and eliminate a soggy bottom.
Storing Your Pie Crust
If preparing the dough ahead, don’t roll it, wrap it well, and refrigerate it for up to 2 days. It can also be frozen for up to 2 months.
How to Blind Bake (Pre-Bake) a Pie Crust
After all of my pie experiments, I’ve concluded that pie crusts should be at least partially baked before filling – even pies that you are going to fill and bake. Here’s how to pre-bake this flaky pie crust:
- Preheat oven to 375 degrees F.
- After refrigerating pie crust in the pie plate for at least 30 minutes, prick the bottom of the crust with a small fork in several places.
- Line crust with aluminum foil or parchment paper and fill evenly with pie weights.
- Place pie dish on a rimmed baking sheet and bake for 15 minutes (20 minutes if deep dish). Remove weights and foil and continue cooking for another 5 minutes. Set aside to cool.
Pie Recipes that Pair Well With Flaky Pie Crust
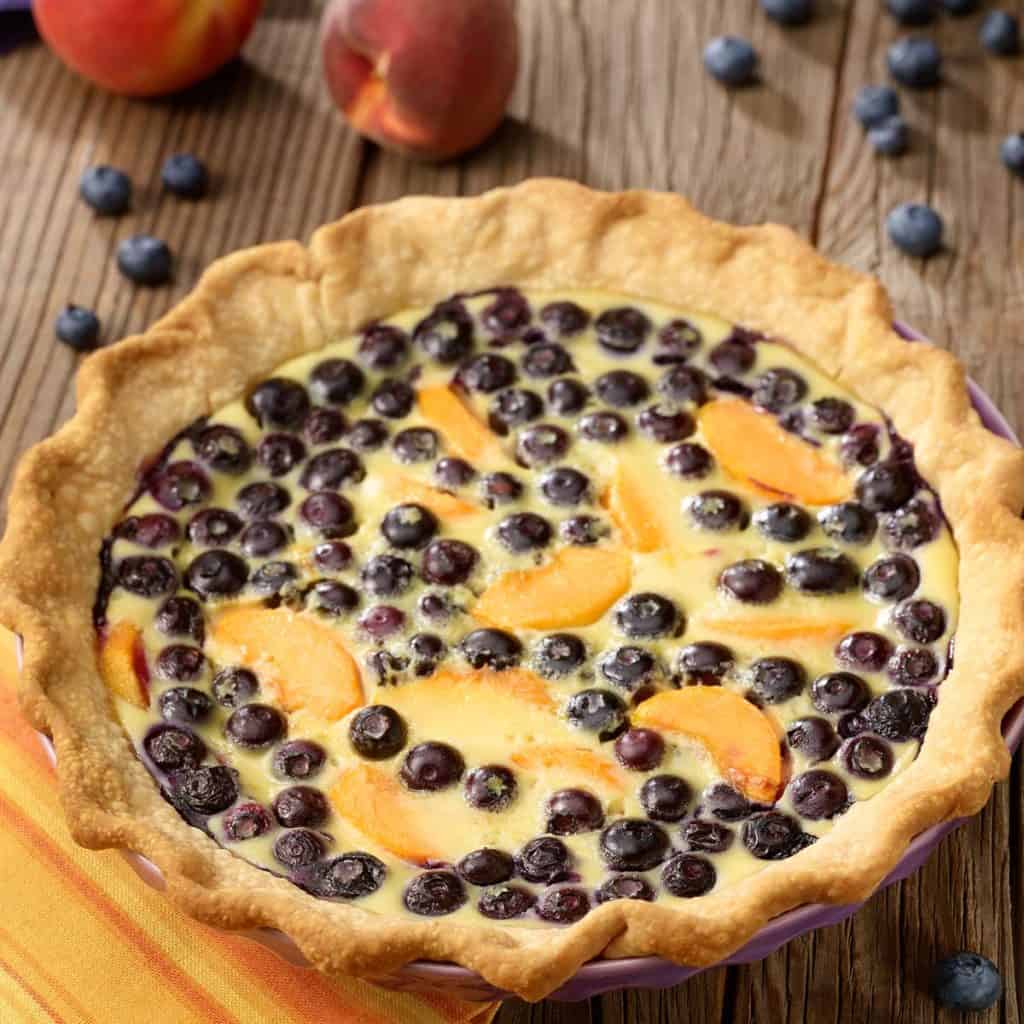
Here are a few pie recipes, both sweet and savory, that I’ve used with this crust:
Flaky Pie Crust FAQs
Yes you can prepare the dough but not roll it, wrap it well, and refrigerate it for up to 2 days. It can also be frozen for up to 2 months.
To make this crust by hand, use a pastry cutter or your fingertips to cut the cold butter and shortening into the flour until the mixture resembles small peas, then gradually add ice water, mixing gently with a fork until the dough just comes together.
To prevent shrinkage, after placing the crust in the pie pan but before baking, refrigerate the crust for at least 30 minutes. Also, pre-bake the crust, lined with foil and pie weights.
If your crust is tough, chances are you overworked the dough or added too much water, which develops excess gluten and creates a denser texture.
Start with chilled dough and lightly flour your surface and rolling pin. Roll gently from the center outward, rotating the dough often, and if a tear occurs, patch it with a small piece of dough and smooth it out by dipping your finger in ice water and gently rubbing it.

Easy Flaky Pie Crust
There’s nothing quite like the satisfaction of a homemade pie, but getting the crust just right can feel like a big challenge. After many hours in my kitchen, testing different ingredient combinations and techniques, I’ve landed on a foolproof recipe that guarantees a flaky, flavorful crust every time. And, whether you’re a seasoned baker or not, this easy and reliable method takes the guesswork out of pie crust perfection! Say goodbye to soggy bottoms and crumbly mishaps—this is the only pie crust recipe you’ll ever need.
Note: this recipe is for the bottom crust of one 8 or 9-inch pie. For double crust pies, simply double the recipe and form into two discs instead of one. And, for a 9-inch deep dish pie, increase the recipe by 25 percent.
- Yield: 1 8- or 9-inch pie crust 1x
Ingredients
- 1 1/4 cups unbleached all-purpose flour
- 1/2 teaspoon table salt
- 4 tablespoons unsalted butter, cut into small pieces and chilled
- 4 tablespoons organic solid vegetable shortening, cut into small pieces and chilled – see Note
- 4 to 5 tablespoons cold (ice) water
Instructions
- Place the flour and salt in the bowl of a food processor fitted with the steel blade. Cover and pulse 2 or 3 times to mix.
- Add the cut up shortening and butter and process 5 to 10 seconds until the dough is the size of small peas.
- Add 3 tablespoons of cold water and pulse 2 to 3 times. Watch the dough carefully and stop the machine as soon as the dough starts to clump together. It will look rough and lumpy and there may be pieces of shortening. If it looks too dry and crumbly, sprinkle in more water and pulse 1 more time. Pinch the dough together with your fingers; if the dough holds together, it is done. Do not allow the dough to form a ball on the machine blades as it will be overworked and tough.
- Turn dough out onto a piece of plastic wrap. Form the dough into a flat disc around 5 to 6 inches in diameter, wrap with plastic wrap and refrigerate for at least 30 minutes (up to 2 days). Can also be frozen at this point.
- Take dough out of the refrigerator and let it sit at room temperature for around 5 minutes – this makes it easier to roll.
- On a lightly floured work surface, roll dough to an an even 1/8-inch thickness and into a 12-inch circle. (See Tip below.) Transfer into a 8 or 9-inch pie plate. Fold over edges and crimp.
- Refrigerate crust for at least 30 minutes before baking.
Notes
Note on fat: You can use 8 tablespoons of butter and no shortening, or all shortening and no butter. I think using both results in the flakiest, most flavorful crust.
High altitude: Above 7500 feet, start with 4 tablespoons of ice water, then add 1 to 2 more if needed.
To partially pre-bake crust: Preheat oven to 375 degrees. Refrigerate crust in pie plate for 30 minutes. Prick bottom of crust with a small fork. Line crust with foil or parchment paper and fill with pie weights. Place on a rimmed baking sheet and bake for 15 minutes (20 minutes if deep dish). Remove weights and foil and continue cooking for another 5 minutes. Set aside to cool.
Tip on rolling dough: Roll from the center out, turning the dough 1/4 turn after a few passes with the roller. Frequently turning the dough helps it roll more easily – and evenly.
- Category: cooking tips, pie crust
Note: this recipe was originally posted in 2016 and significantly updated in November 2024, adding in more information, tips, and new photos.





My mom was an awesome pie baker and used all shortening ( with 1 T butter) and hot water. She also added a little baking powder. Blueberry pies were favorites of friends and family.
I’ll have to try adding baking powder – interesting idea! Thanks for sharing.
Yum, yum this looks good – perfect pie crust!!
This is great! I’ve never tried making my own pie crust. This makes it look do-able! So glad you shared it with us at #FoodieFriDIY! Will be sharing tomorrow!