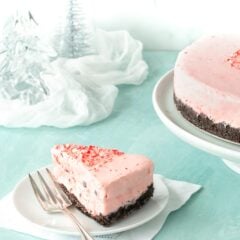
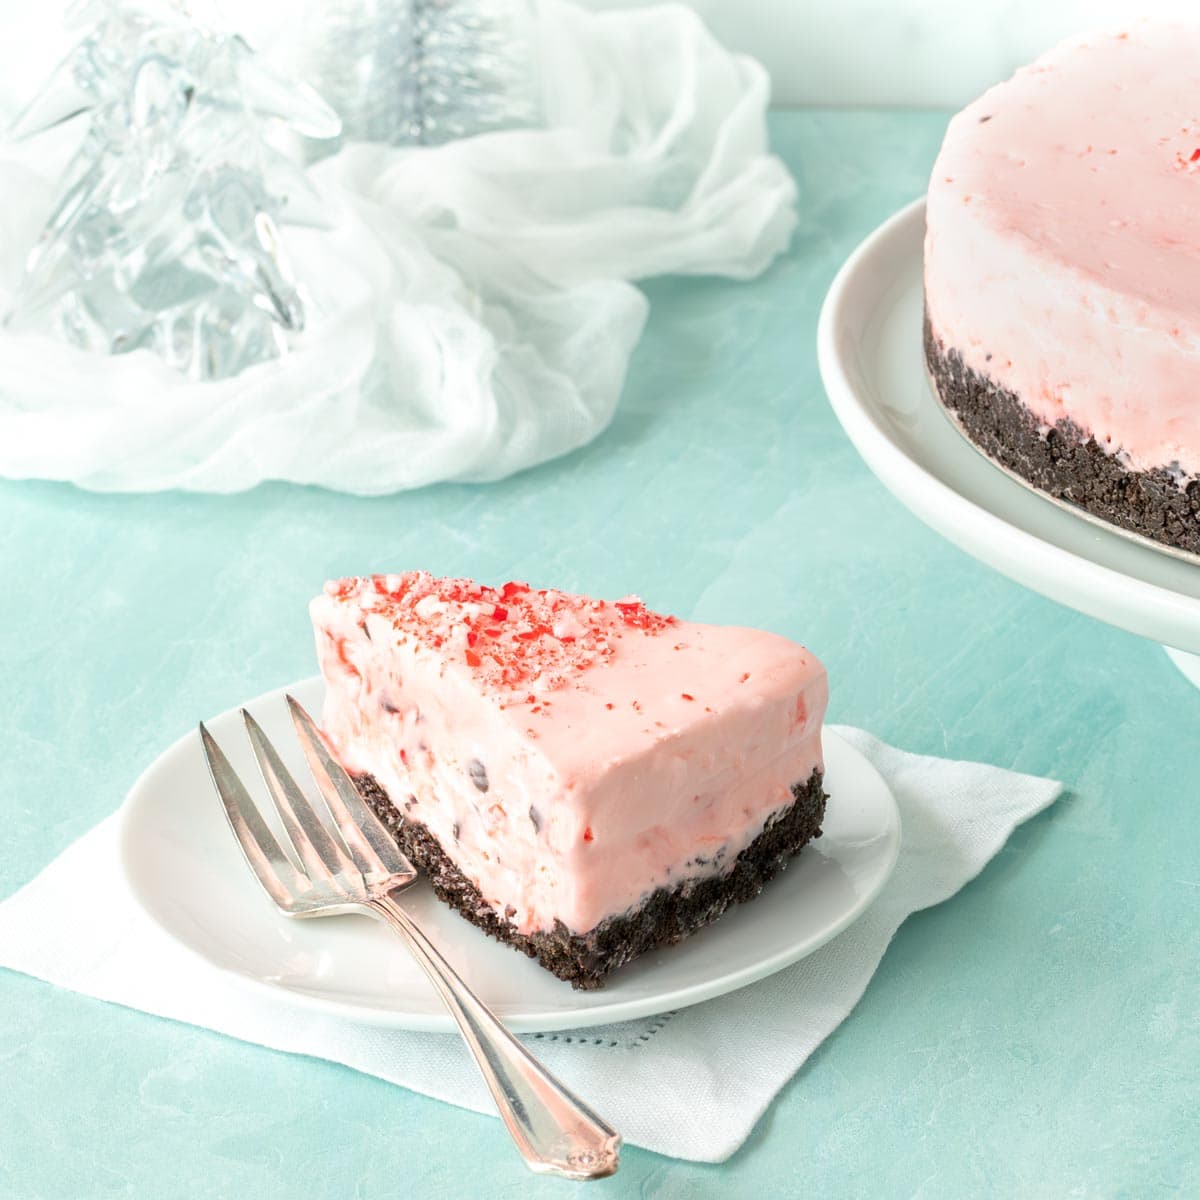
Indulge in a slice of heaven with our irresistible Frozen Chocolate Peppermint Cheesecake. This no-bake, easy to prepare dessert combines the rich and creamy goodness of cheesecake with delightful bits of chocolate and invigorating peppermint, all nestled in a delectable chocolate crust. Every bite is a perfect balance of velvety smoothness and refreshing coolness that will leave your tastebuds tingling with delight!

Table of Contents
- Why This No Bake Chocolate Peppermint Cheesecake is the Ultimate Dessert
- Ingredients for Chocolate Peppermint Cheesecake
- Step-by-Step Instructions for Making Chocolate Peppermint Cheesecake
- Tips and Tricks for a Perfect Chocolate Peppermint Cheesecake
- Storing Frozen Peppermint Cheesecake
- Serving and Presentation Ideas for the Chocolate Peppermint Cheesecake
- Variations and Additions to the Chocolate Peppermint Cheesecake Recipe
- Frequently Asked Questions about Chocolate Peppermint Cheesecake
- Easy Frozen Chocolate Peppermint Cheesecake Recipe
- Other Make Ahead Dessert Recipes You Might Like
This post contains referral links for products I recommend. As an Amazon Associate, I earn a small commission on qualified purchases, at no cost to you.
Why This No Bake Chocolate Peppermint Cheesecake is the Ultimate Dessert
The inspiration for this recipe came during a chance encounter with my good friend Nancy Jones in the baking aisle of the grocery store just weeks before Christmas. Curious about her holiday dessert plans, she shared her go-to cheesecake tradition for family gatherings. Armed with her verbal recipe, I recreated it for a dinner party a few days later. It was such a big hit that Mom and I decided to include it in our first cookbook, A Well-Seasoned Kitchen®!
Here’s what sets this Frozen Peppermint Chocolate Cheesecake apart and makes it the perfect dessert for any special occasion, especially for Christmas or Valentine’s Day:
- Perfect fusion of flavors. Indulge in the classic pairing of indulgent chocolate and the invigorating coolness of peppermint.
- Textural delight. Experience a delightful interplay of textures as the creamy cheesecake meets the satisfying crunch of crushed candy canes and chocolate bits.
- Feast for the eyes. Elevate your dessert table with this visually enticing dessert. The dark chocolate crust, pink filling, and vibrant red and white candy cane pieces on top make it a showstopper that’s as delightful to look at as it is to eat.
- Easy to prepare. With straightforward steps, you can create a stunning dessert that will leave your guests thinking you spent hours in the kitchen.
- Make ahead. Prepare this Frozen Chocolate Peppermint Cheesecake when it’s convenient and freeze it for up to one month.

Ingredients for Chocolate Peppermint Cheesecake
To create this great make-ahead dessert, you’ll need the following ingredients:
- Oreo cookie crumbs. Sometimes you can find these in a box at the grocery store. If not, finely grind around 20 cookies in a food processor. See other substitutions below.
- Butter. Can use salted or unsalted. The butter is used to bind together the cookie crumbs to form the crust.
- Cream cheese. I recommend using the Philadelphia brand.
- Sweetened condensed milk. I recommend using Eagle Brand. It provides extra creaminess without the added moisture in traditional milk, and also adds sweetness, eliminating the need for sugar.
- Crushed hard pink and white peppermint candy. I like to use candy canes because they are the easiest to crush. If not available, round peppermint candies can also be used. See directions below on how to crush.
- Mini chocolate chips. These smaller-size chips are more subtle in both taste and texture, adding more chocolate flavor without overpowering the filling.
- Whipping cream. Heavy or regular whipping cream can be used.
Step-by-Step Instructions for Making Chocolate Peppermint Cheesecake
Here’s how easy it is to make this impressive no bake dessert:
- Prepare crust.
In a medium mixing bowl, stir together cookie crumbs and melted butter. Firmly press into the bottom of either a 9” springform pan or a 9 by 13-inch pan. Wrap with plastic wrap or foil and refrigerate. - Combine cream cheese, milk, candy, and chocolate chips.
Beat softened cream cheese at high speed with an electric mixer until fluffy. Add condensed milk and beat well, stopping to scrape down the sides of the bowl once or twice during the process. Stir in peppermint candy and chocolate chips. - Whip cream; add to filling.
Using an electric mixer, whip the cream in a large bowl until peaks form and fold into the cream cheese mixture until no white streaks remain. - Spoon cheesecake batter into crust; freeze.
Spoon filling into the prepared pan, smoothing the top. Wrap with plastic wrap or aluminum foil and freeze until firm (at least 4 hours, preferably overnight).
Tips and Tricks for a Perfect Chocolate Peppermint Cheesecake
- Use well-softened cream cheese for the best creamy, smooth texture with no lumps. Let the package cream cheese sit at room temperature for at least 30 minutes, up to 1 hour.
- Ensure whipped cream is fully incorporated into the cream cheese mixture. This will provide an even texture and uniform pink color to the filling.
- Don’t add the peppermint topping until just before serving. When frozen, the crushed peppermint on top can melt or bleed and become sticky.
How to crush candy canes (or round candies)
- Unwrap the candy canes or rounds and place them in a freezer-safe ziptop baggie that’s inside a second freezer bag.
- Using a rolling pin or meat tenderizing mallet, crush the peppermint into very small pieces.
- You will notice that crushing the peppermint created a white/pale pink powder inside the bag. To remove the powder from the pieces you want to use for garnish, dump what’s in the baggie (both the pieces and powder) into a small bowl. Using your fingers, scoop up the larger pieces and allow the powder to fall back into the bowl. Remove the now-clean pieces that you want to use for the garnish (this way they are a bright red and white, without powder).
- Fill a 1-cup measuring cup with the remaining crushed pieces and powder to use in the filling. Include the powder because, even though it looks white, it still has red coloring in it and will add to the color of the filling.
Storing Frozen Peppermint Cheesecake
Store the cheesecake well-wrapped in the freezer. When first placing it in the freezer, make sure it’s level – otherwise, you’ll end up with a crooked cheesecake!
Serving and Presentation Ideas for the Chocolate Peppermint Cheesecake
Remove cheesecake from the freezer shortly before serving – it melts fairly quickly. Garnish the top with whipped cream piped into stars and/or crushed peppermint candies.
Here are a few garnish and other presentation ideas:
- Pipe whipped cream stars around the rim of the cheesecake and in the middle, then add crushed peppermint on top of the stars.
- Before piping on the whipped cream and adding the crushed peppermint, sprinkle the top with cocoa powder or chocolate cookie crumbs. (photo)
- Add a dollop of whipped cream and a drizzle of dark chocolate sauce to each slice.
- Sprinkle the serving plate (or individual dessert plates) with powdered sugar or cocoa powder.
- Sprinkle the top with chopped toasted pecans.

Variations and Additions to the Chocolate Peppermint Cheesecake Recipe
While our Chocolate Peppermint Cheesecake recipe is delicious and full of flavor as is, you can customize it to suit your tastes. Here are a few ideas:
- Spread a layer of fudge sauce over the top of the frozen cheesecake, then garnish with whipped cream and/or crushed peppermint.
- Substitute ginger snap or graham cracker crumbs for the Oreo cookie crumbs, and sprinkle some over the top of the cheesecake before serving.
- Instead of one large cheesecake, make individual ones in muffin tins. This recipe will make around 16 mini cheesecakes.
Feel free to experiment and get creative with variations to make the Chocolate Peppermint Cheesecake truly your own.
Frequently Asked Questions about Chocolate Peppermint Cheesecake
Absolutely! While Oreo or chocolate wafer cookies work best, you can experiment with other flavors such as ginger snaps or even graham crackers.
Yes, you actually have to make this peppermint cheesecake ahead and freeze it before serving.
While you can use low-fat cream cheese and whipped cream, they may affect the texture and flavor of the cheesecake. For the best results, I recommend using full-fat versions.

Easy Frozen Chocolate Peppermint Cheesecake Recipe
Ingredients
- 1 3/4 cups Oreo cookie crumbs, finely grind around 20 cookies in a food processor
- 4 tablespoons butter, melted
- 8 ounces cream cheese, softened
- 14 ounces sweetened condensed milk
- 1 cup crushed hard peppermint candy, canes work well – see Note below
- 1/2 cup mini chocolate chips
- 2 cups whipping cream, plus more for garnish
Instructions
- In a medium mixing bowl, stir together cookie crumbs and butter. Firmly press into the bottom of either a 9” springform pan or a 9 by 13-inch pan. Wrap with plastic wrap and refrigerate.
- Beat cream cheese at high speed with an electric mixer until fluffy. Add condensed milk and beat well. Stir in peppermint candy and chocolate chips.
- Using an electric mixer, whip the cream until peaks form and fold into the cream cheese mixture until no white streaks remain.
- Spoon filling into the prepared pan, smoothing the top. Don’t add garnishes yet. Cover and freeze until firm (at least 4 hours, preferably overnight).
- Remove from freezer shortly before serving (it melts fairly quickly!) and garnish the top or individual servings with whipped cream, crushed cookies or cocoa powder, and/or crushed peppermint candies.
Notes
1. Start with 9-9.5 ounces of candy canes or candies.
2. Unwrap the candy and place in a freezer-safe ziptop baggie that’s inside a second freezer baggie.
3. Using a rolling pin or meat tenderizing mallet, crush the peppermint into very small pieces.
4. You will notice that crushing the peppermint created a white/pale pink powder inside the bag. To remove the powder from the pieces you want to use for garnish, dump what’s in the baggie (both the pieces and powder) into a small bowl. Using your fingers, scoop up the larger pieces and allow the powder to fall back into the bowl. Remove the now-clean pieces that you want to use for the garnish (this way they are a bright red and white, without powder).
5. Fill a 1-cup measuring cup with the remaining crushed pieces and powder to use in the filling. Include the powder because, even though it looks white, it still has red coloring in it and will add to the color of the filling. Make ahead: This dessert can be made up to 1 month ahead, well-wrapped and kept frozen.
Crust variation: Crust variation: The crust can also be prepared with 1 1/2 cups chocolate wafer crumbs, 1/4 cup sugar, and 1/4 cup melted butter.
Nutrition
Nutrition information is automatically calculated, so should only be used as an approximation.