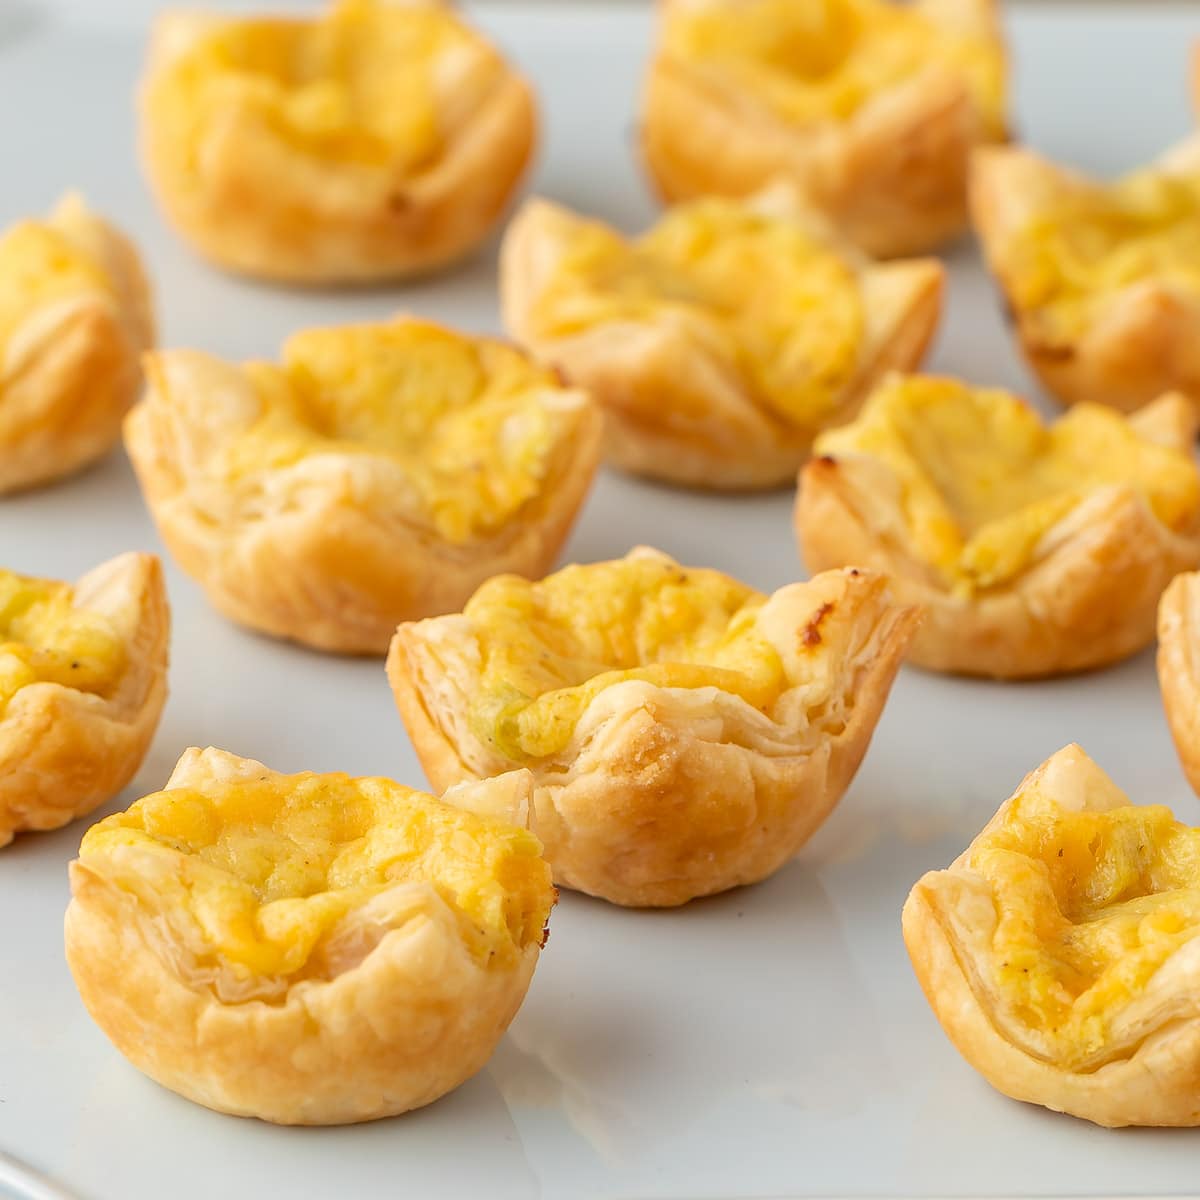
Ditch the boring cheese ball and impress your guests with these irresistible Mini Cheese Tart Appetizers! Straight from my mom’s recipe box, these bite-sized delights boast a flaky, golden crust cradling a creamy, cheesy filling with a hint of savory onion and a touch of curry powder. But the real star of the show is the tangy-sweet mango chutney that adds a burst of flavor and takes this easy appetizer over the top. Plus, you make them ahead of time, freeze, and then bake just before serving. Say goodbye to last-minute stress and hello to rave reviews!

Table of Contents
- Why I Love Make Ahead Appetizers – Especially This Recipe
- Ingredients and Equipment Needed
- Step-by-Step Instructions for Making Mini Tarts with Cheese and Chutney
- Tips for Making Perfect Mini Tarts
- Variations and Customization Options
- Make Ahead and Storage Tips
- More Make-Ahead Appetizers
- Mini Cheese Tart Appetizers with Chutney Recipe
This post contains referral links for products I recommend. As an Amazon Associate, I earn a small commission on qualified purchases at no cost to you.
Why I Love Make Ahead Appetizers – Especially This Recipe
My mom was a firm believer in make-ahead entertaining. She always swore by prepping dishes in advance, not just to reduce pre-party stress, but to be able to spend party time with her guests. These mini tarts were a go-to favorite appetizer for this very reason – you can whip them up months in advance and bake them straight from frozen. They’ve become a signature dish of mine too, and I always keep a batch stashed in the freezer for those last-minute get-togethers!
In addition to make-ahead convenience, here’s what makes this cheesy appetizer recipe stand out:
- Unique flavor. The combination of creamy cheese, savory curry, and tangy chutney is unexpected and delicious.
- Easy and customizable. This recipe is freezer-friendly and uses store-bought puff pastry for convenience. Plus, you can experiment with different types of cheese and/or chutney to match your taste (see recommendations below).
- Elegant presentation. These mini tarts are perfect for a party or potluck because they look impressive and are easy to eat.
Ingredients and Equipment Needed

To make these mini tarts, you’ll need the following ingredients:
- Cream cheese – I think regular is best, but you can substitute low fat if needed
- Sharp Cheddar cheese
- Garlic
- Curry powder – I recommend Madras curry
- Mango chutney – often under the name “Major Grey’s” it may or may not say “mango”
- Green onions
- Cayenne pepper
- Worcestershire sauce
- Kosher salt
- All-purpose flour, for rolling pastry
- Frozen puff pastry
In addition to the above ingredients, you’ll need the following equipment:
- Electric Mixer with whisk attachment
- Rubber spatula (for scraping down the sides of the bowl)
- Rolling pin and mat
- Large sharp knife
- Mini muffin tins
- Mini tart tamper (recommended but not required)
- Measuring spoons and cups
Step-by-Step Instructions for Making Mini Tarts with Cheese and Chutney
Here’s how you create these little bites of deliciousness:
- Mix cream cheese.
Using an electric mixer with a whisk attachment, mix the cream cheese until smooth, around 2 to 3 minutes.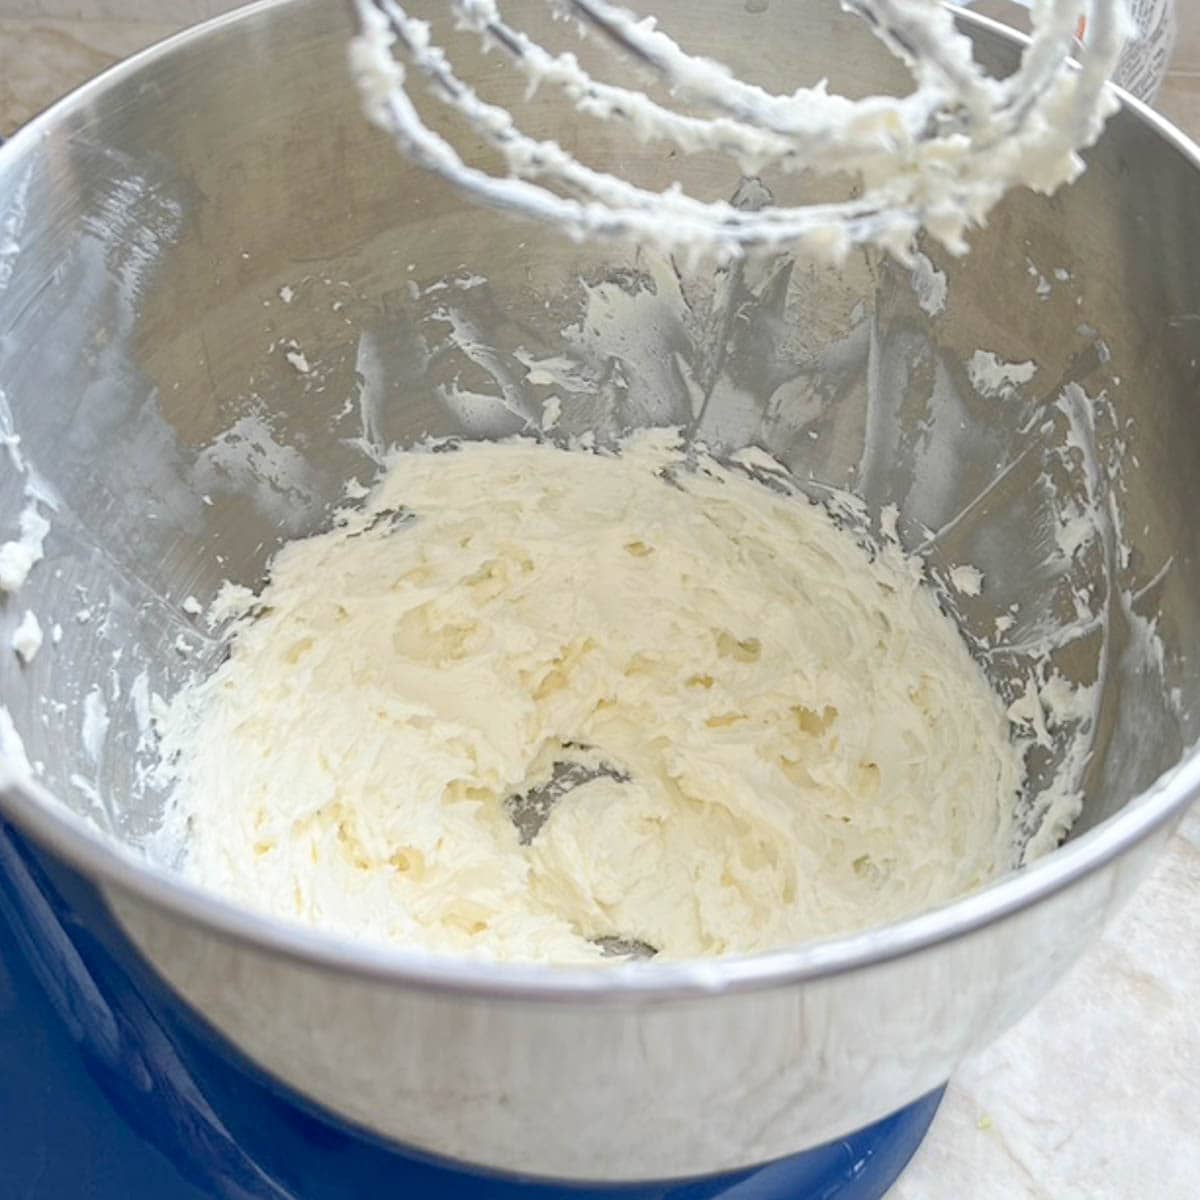
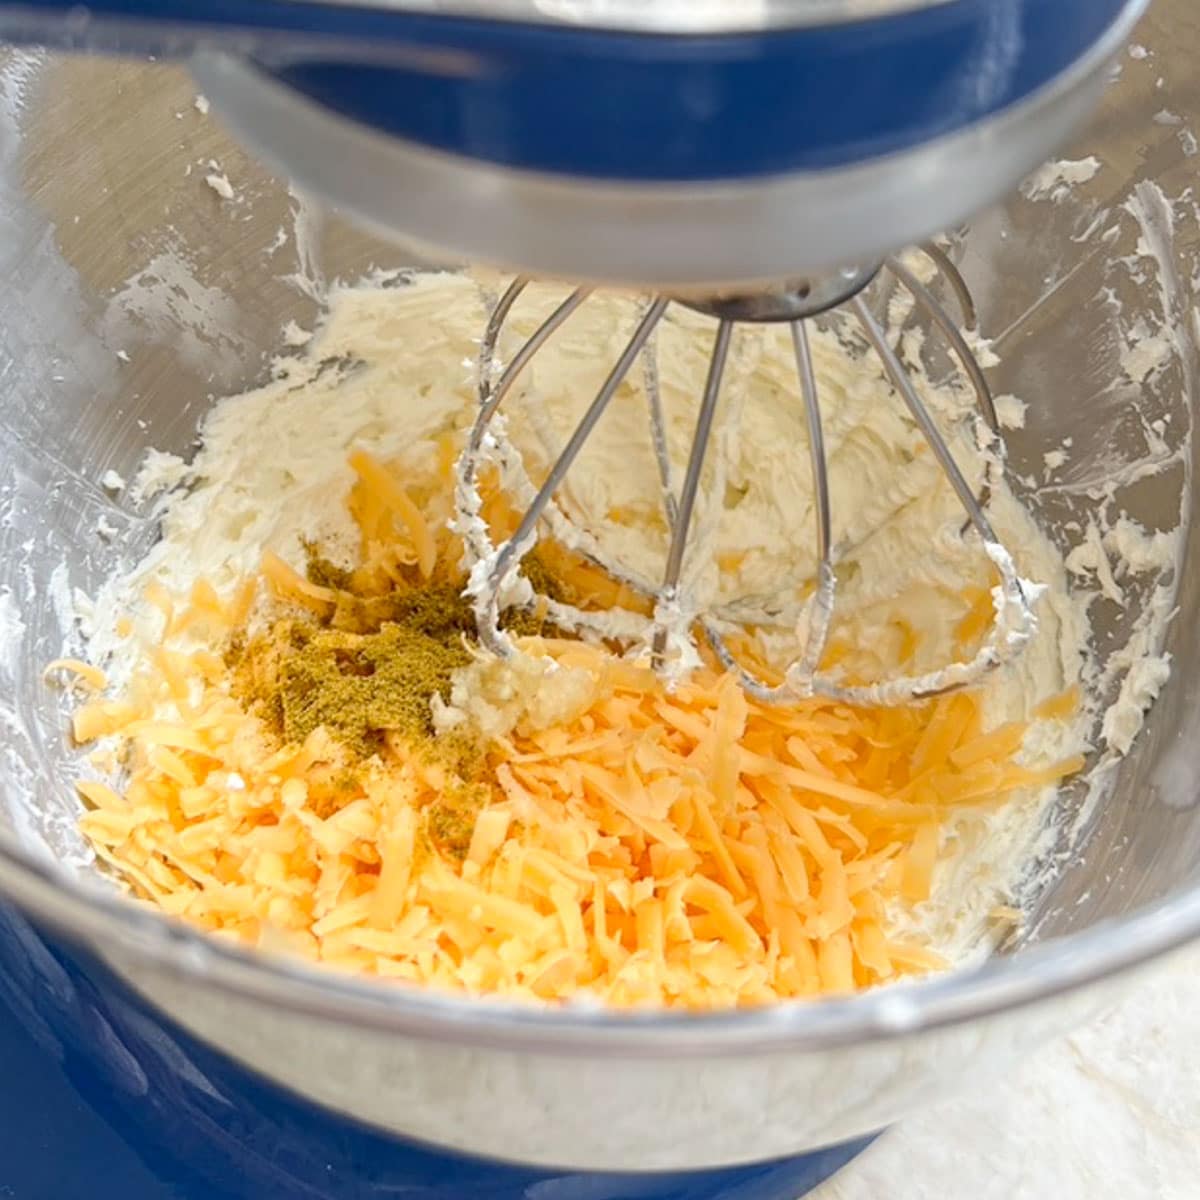
- Add the Cheddar, garlic, and curry powder and blend well.
- Add remaining filling ingredients.
Chop up the large pieces in the chutney and add to the cheese mixture along with the onions, cayenne pepper, and Worcestershire sauce. Mix well. Season to taste with salt. Set aside.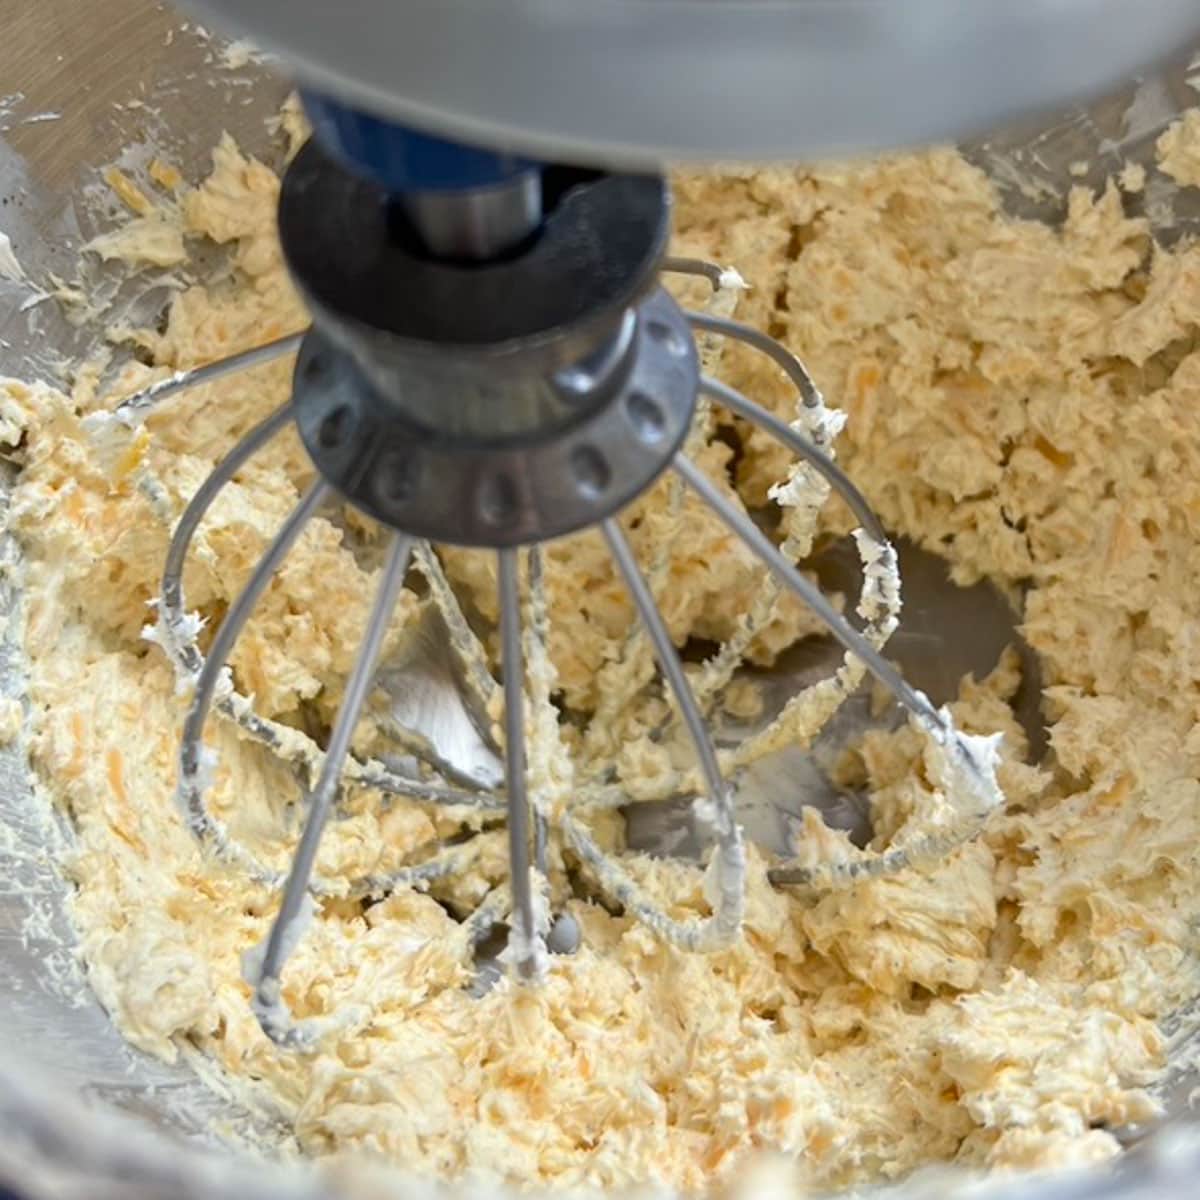
- Cut puff pastry into squares.
On a lightly floured surface roll out one piece of puff pastry into a 12-inch square. Cut into 2-inch squares.
- Press squares into small mini-muffin tins and prick with a fork.

- Fill squares and freeze.
Spoon 1 teaspoon filling into the center of each square. Cover with saran wrap and freeze tarts in the tins.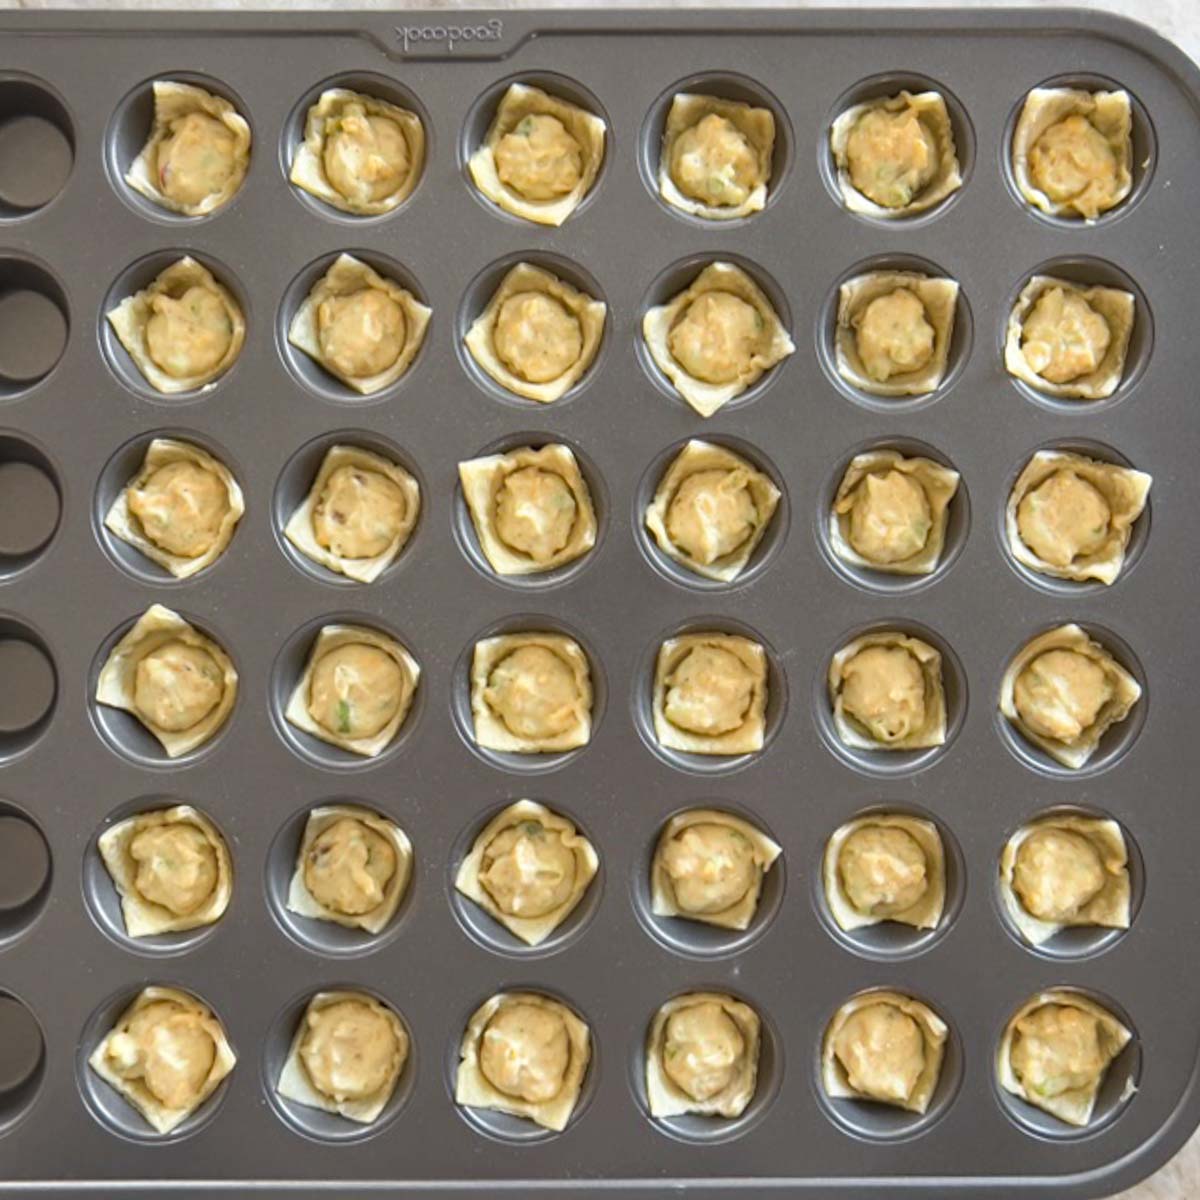
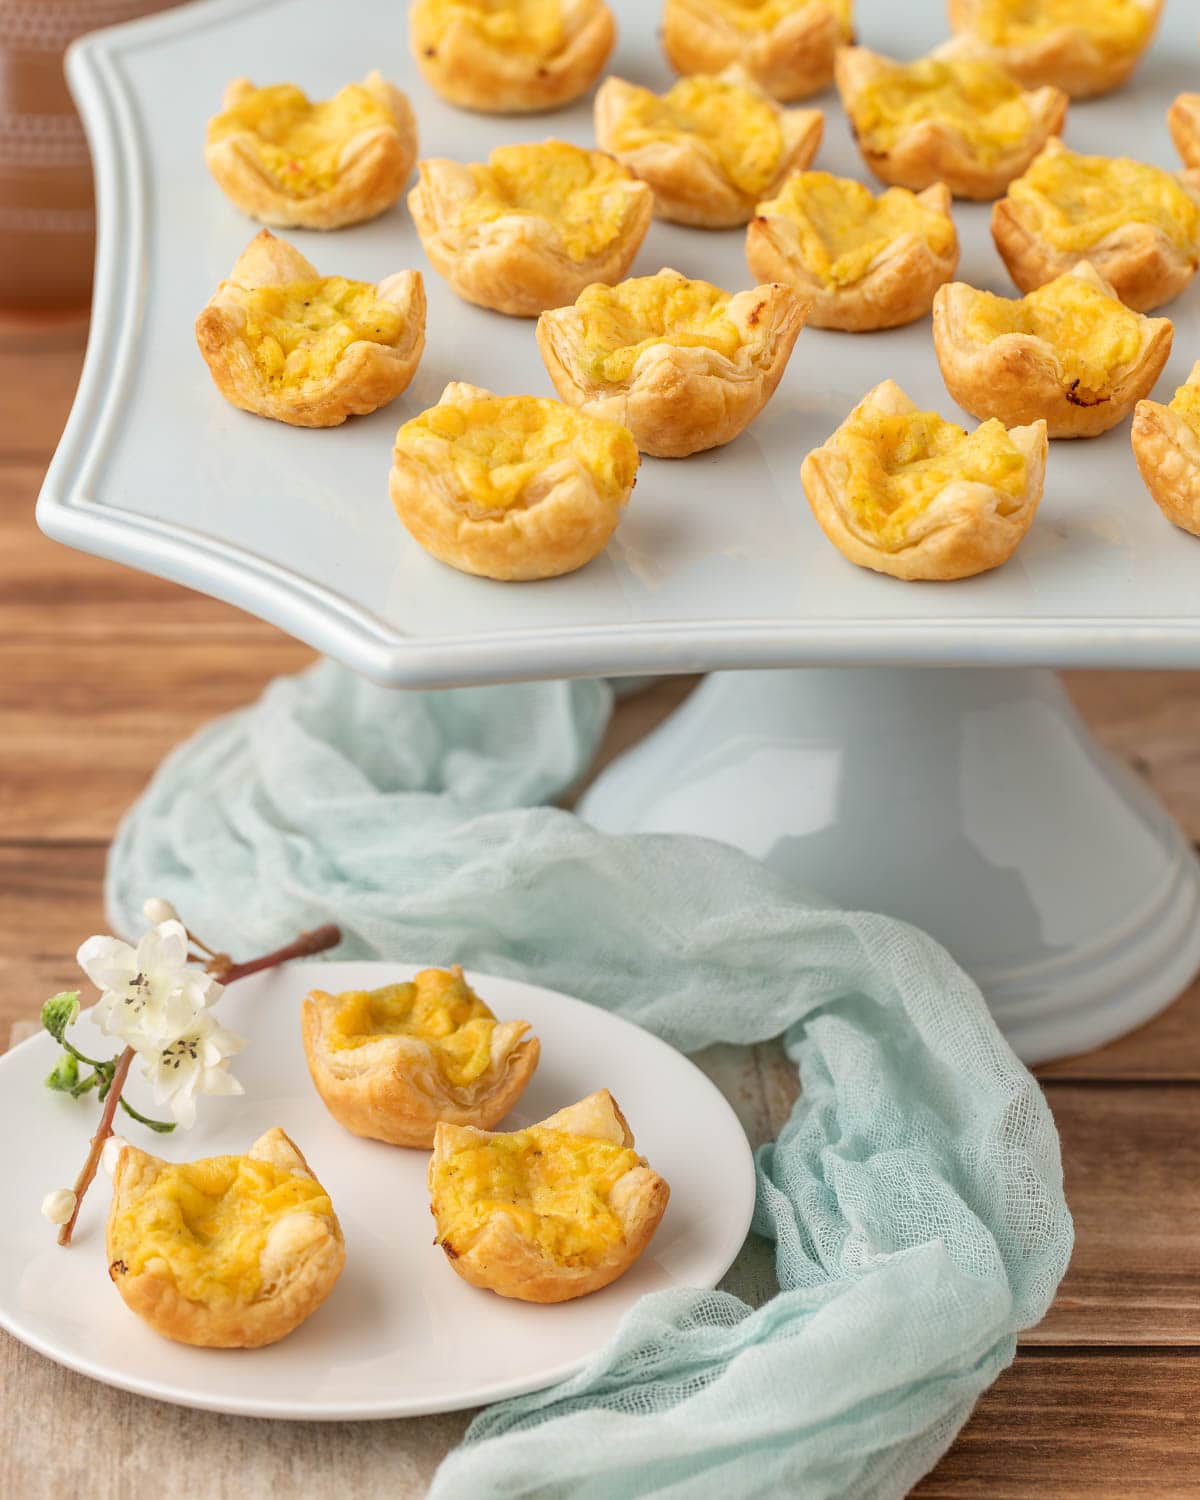
- Bake.
To bake the tarts, preheat the oven to 400 degrees. Remove tarts from the freezer and bake in the tins for 15 to 18 minutes or until puffy, bubbly and the pastry is golden brown. - Let sit; serve.
Let tarts sit in tins for 1 minute, then remove to a serving platter and serve warm. Note: they will puff up during baking, then collapse somewhat when removed from the oven. This is normal!
Tips for Making Perfect Mini Tarts
Over the years of making these cheese tarts, I’ve learned a few lessons that I thought I would share with you to ensure your tarts come out perfectly:
- These tarts MUST be baked from frozen. Don’t skip this step or thaw them before baking! If you do, the puff pastry bottoms will puff up so far that they’ll push out the filling.
- For best results, don’t overfill the tarts, just 1 teaspoon of filling. If you add more, the filling can bubble out of squares when cooked.
- It’s important to taste the filling after mixing and adjust the seasoning as needed. Spices, like the curry and cayenne powder, lose their punch of flavor over time (after opening), so if yours are older, you may need to add more.
- Don’t use packaged shredded Cheddar cheese – grate it yourself. The stuff they add to pre-shredded cheese to keep it from caking also can keep it from melting properly. And, the flavor will be less than freshly grated cheese.
- Keep puff pastry sheet cold. If it gets warm, it will be difficult to roll and cut, and won’t puff as much when baked.
- A note on baking time: If your tarts are baked in a pan that came out of the freezer, since it’s cold it will likely take the tarts closer to 18 minutes to fully cook. On the other hand, if frozen tarts are placed in a room temperature pan, then their cooking time will be closer to 15 minutes.
Variations and Customization Options
While the classic mini cheese tart appetizer with chutney is simply divine, don’t be afraid to get creative and experiment with different flavors and ingredients. Here are a few variations and customization options to consider:
- Swap out 1/4 of the cream cheese for goat cheese, to add a bit of tang.
- Replace the Cheddar cheese with shredded gouda cheese.
- Create a holiday version with cranberry chutney instead of mango.
- Add chopped fresh herbs like chives, cilantro, or parsley for a pop of color and freshness.
- Add chopped cooked ham or bacon for a richer appetizer.
Make Ahead and Storage Tips
One of the best things about these mini cheese tart appetizers is that they must be prepared ahead of time, making them a stress-free option for entertaining. Prepare the tarts through the freezing step. If you aren’t baking the tarts the same day, once they are frozen, remove them from the muffin tins and place in freezer bags to store. They will last for up to 3 months; after that, the pastry won’t puff. When ready to bake, place frozen tarts back into mini-muffin tins.
Alternatively, the filling can be made up to 3 days ahead, placed in an airtight container, and refrigerated. Can also be frozen for up to 3 months. Bring to room temperature before filling pastry squares.
More Make-Ahead Appetizers
- Prosciutto, Fig and Goat Cheese Tarts
- Pimiento Cheese Appetizers with Green Chiles
- Mini Cheese Balls Two Ways
- Layered Cheddar Cheese Torte
- Crispy Cheddar Cheese Straws
- Baked Olive Cheese Balls
- Curry Shrimp Appetizer
- Artichoke and Sundried Tomato Appetizer
- Tomato, Pesto, and Goat Cheese Crostini
Still looking for more appetizer ideas? Check out these 30 Super Bowl Appetizer Recipes that can be served year round!

Mini Cheese Tart Appetizers with Chutney
Ingredients
- 5 ounces cream cheese, at room temperature
- 2/3 cup grated sharp Cheddar cheese
- 1/2 teaspoon chopped garlic
- 3/4 teaspoon curry powder
- 3 tablespoons cup mango chutney
- 2 medium green onions, white, light green, and some of the dark green portion, chopped
- Dash cayenne pepper
- Dash Worcestershire sauce
- Kosher salt, to taste
- All-purpose flour, for rolling pastry
- 1 Sheet puff pastry, thawed
Instructions
- Using an electric mixer with a whisk attachment, mix the cream cheese until smooth, around 2 to 3 minutes.
- Add the Cheddar, garlic, and curry powder and blend well.
- Chop up the large pieces in the chutney and add to the cheese mixture along with the onions, cayenne pepper, and Worcestershire sauce. Mix well. Season to taste with salt. Set aside.
- On a lightly floured surface roll out one piece of puff pastry into a 12-inch square. Cut into 2-inch squares.
- Press squares into small mini muffin tin and prick with a fork.
- Spoon 1 teaspoon filling into the center of each square. Cover with plastic wrap and freeze tarts in the tins.
- To bake the tarts, preheat the oven to 400 degrees. Remove tarts from the freezer and bake in the tins for 15 to 18 minutes or until puffy, bubbly and the pastry is golden brown.
- Let tarts sit in tins for 1 minute, then remove to a platter and serve warm.
Notes
Nutrition
Nutrition information is automatically calculated, so should only be used as an approximation.
Note: this recipe was originally posted in 2009 and then updated significantly with new photos and additional information in March 2024.


Made a test batch a few days ago, baked off last night – delicious! Making more today to freeze for Mother’s Day. So easy!!
Thanks Susie! It makes me happy to hear you are enjoying our recipes.